|
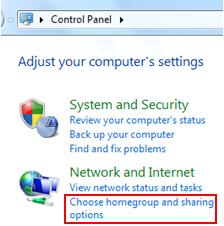
Windows 7 Homegroup CreationLet’s explore on Windows 7 homegroup creation here, so that you can share file, image, picture, music, video, printer or other types of documents with other Windows users easier and faster. Please note you can only create new homegroup if you use Windows 7 Home Premium, Professional, Ultimate, or Enterprise editions. Windows 7 Starter and Windows 7 Home Basic can be used to join homegroup only. Once you have homegroup created, other computer can join it by using a password. It’s that simple. Without wasting time, you can follow the instruction here to create Homegroup: 1) Go to Start and click on Control Panel. 2) Proceed to click Choose homegroup and sharing options in Control Panel window. Note: You can also locate Choose homegroup and sharing options in Network and Sharing Center window.
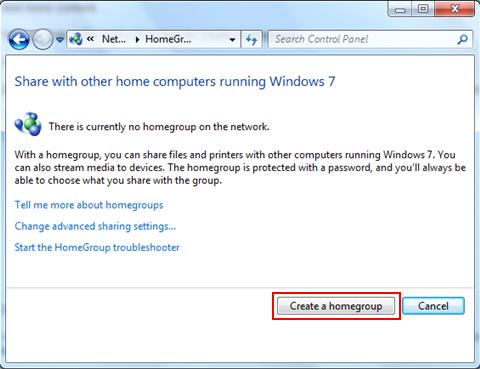
3) If you have not created homegroup before, you will see following window. You can proceed to click Create a homegroup button.
Note: If a homegroup exists on your network, you'll be asked to join it instead of creating a new one. Note: Make sure the network location type of your computer is set to Home as this is the only location type that let you to create or join homegroup. If not, you will be prompted as shown below.
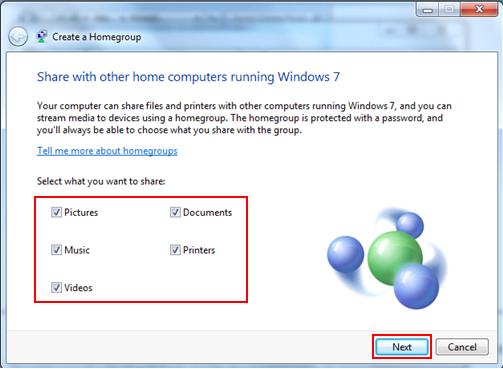
4) Ok, here you need to select what you want to share! There are many types of files you can share, it could be Pictures, Music, Videos, Documents or your connected printer. Choose the sharing options and click Next. Note: Actually whenever you change network location type to Home, you will be prompted to create homegroup too, but it can always be cancelled if it’s not needed.
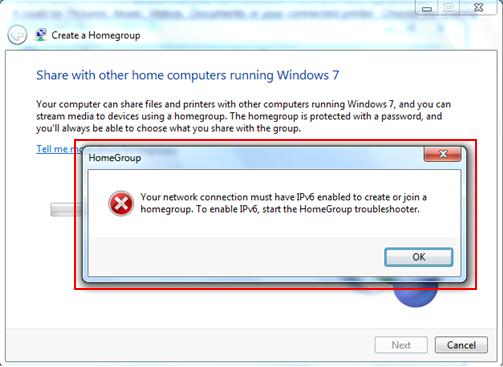
5) Wait for a while to let the system to create homegroup. Note: If IPv6 feature in windows 7 is disabled, the following error message will pop up and request you to enable IPv6. As IPv6 feature is required to create or join homegroup, you need to have this feature enabled.
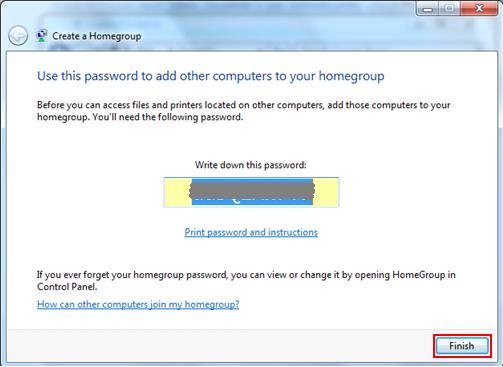
6) Once your homegroup is created, you will be given password for other computers to join this homegroup. Write down the password and share with those users that will join your homegroup. Click Finish.
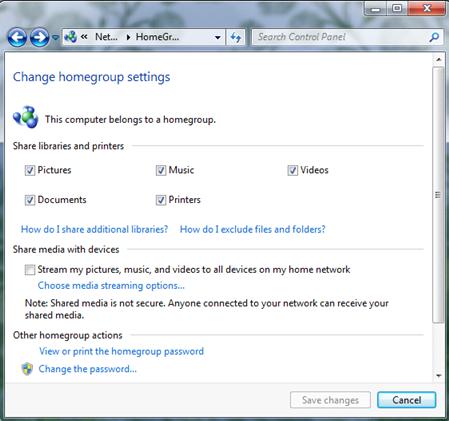
7) After doing Windows 7 homegroup creation, you can still make more changes on homegroup settings if you want. If not, just click Cancel. You are now ready to have other computers to join this homegroup and share the media files or documents. You can also check out here on how to join homegroup if you want.
Other Articles: Enabling or Disabling Network Discovery in Windows 7
|