|
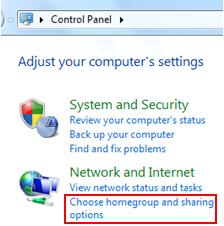
Using Windows 7 to Join Homegroup for File SharingLet’s use Windows 7 to join homegroup for file sharing! Homegroup is new feature in Windows 7 to ease file, printer or other media file sharing in secure method. If there is homegroup created on your office or home network, you could simply follow several steps shown here to join it. Password is requierd to join the homegroup. Not everyone can join it unless one knows the homegroup password, so please check with the system admin or the person that manages the homegroup if you don’t know the password. Without wasting more time, let’s follow the instructions here to get it done: 1) Click Start and proceed to click Control Panel. 2) Control Panel window will appear, go ahead to click Choose homegroup and sharing options. Note: You can also locate this same option in Network and Sharing Center window.
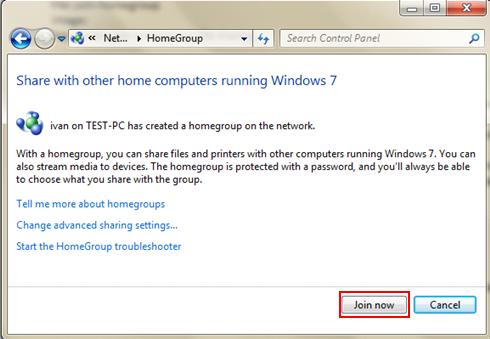
3) Homegroup settings window will appear, it will show you whether there is homegroup created on your network. If there is, you need to click Join now. Note: If there is no homegorup created, then it can be created on computer which is installed with Windows 7 Home Premium, Professional, Ultimate or Enterprise editions.
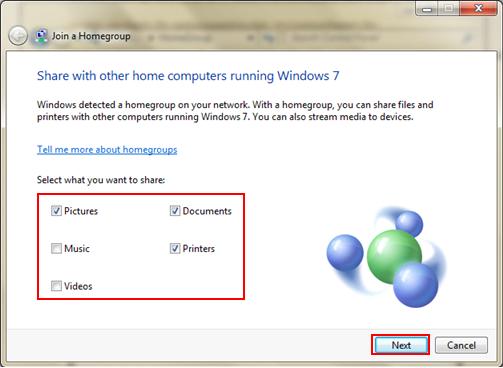
4) Here you need to select what kind of files or printer you want to share, after that click Next.
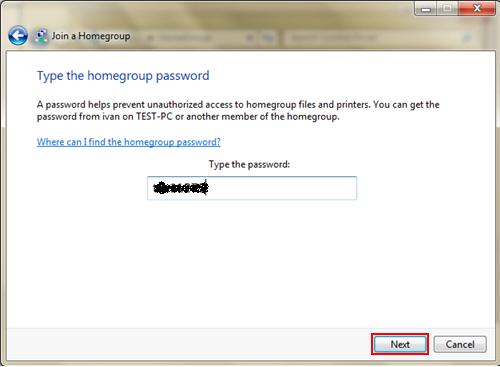
5) Homegroup password window appears. Ok, here you need to key in the homegroup password in order to join it, after that click Next again.
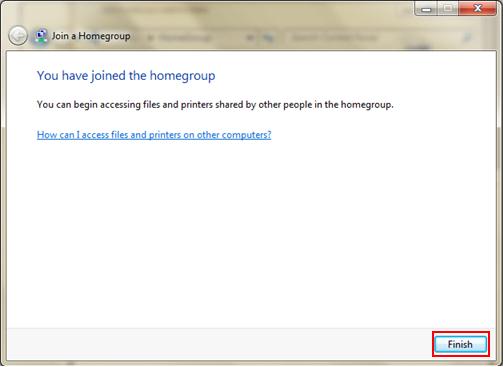
6) You have joined the homegroup window will appear once you have joined it, you can then click Finish to close the window.
Related Articles: Homegroup – Sharing File Easier in Windows 7
Return to top of "Using Windows 7 to Join Homegroup for File Sharing"!! |