|
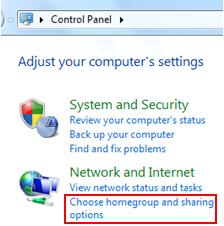
Simple Way to Delete or Leave Homegroup in Windows 7Let's explore how to delete or leave homegroup in Windows 7 here, so that you could stop library, document, media file or other sharings with other users on homegroup. If you feel lazy to enable or disable the library or shared files, leaving homegroup will stop all sharings with just few simple steps, you can then rejoin homegroup if you want to do sharing again. Talking about deleting homegroup, actually there is no option to delete homegroup, but if all computers leave the homegroup, that homegroup doesn’t exist anymore. You can follow step-by-step instructions here to leave the homegroup: 1) Go to Start and click on Control Panel. 2) Proceed to click Choose homegroup and sharing options in Control Panel window.
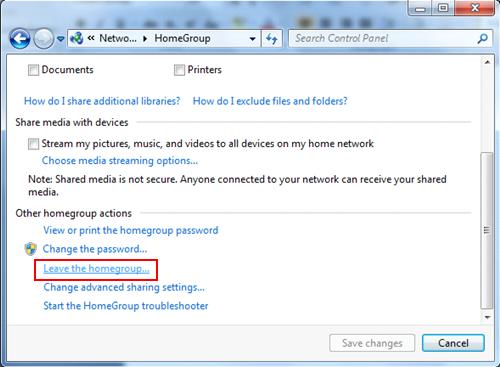
3) Homegroup window will appear, scroll down and click Leave the homegroup...
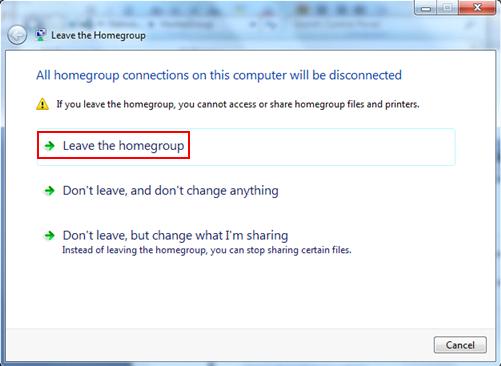
4) You can then click on Leave the homegroup option on Leave the Homegroup window. If you change you mind, you can then select other options. Note: If you click Don’t leave, but change what I’m sharing option, you can then enable or disable what you have shared.
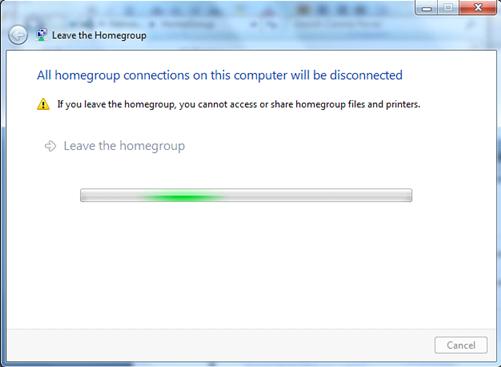
5) Wait for a while and your will then leave the homegroup. In addition, all user accounts on your computer also leave the homegroup.
Related Articles: Windows 7 Homegroup Creation
Return to top of "Simple Way to Delete or Leave Homegroup in Windows 7"!! |