|

Custom Search
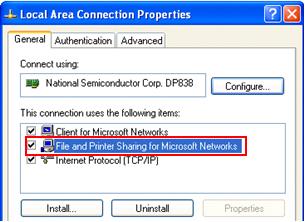
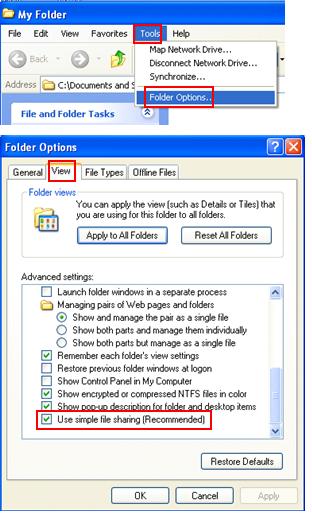
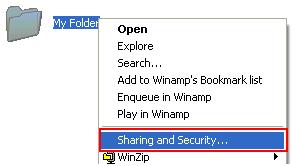
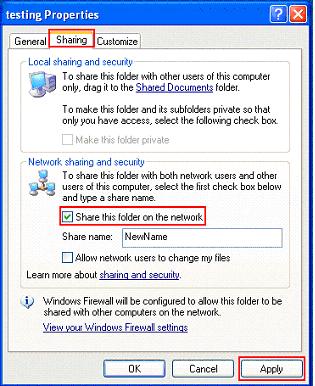
Simple File Sharing in Windows XPYou can do folder and file sharing in your home network, so that they can be read or written by other users. However it's not advisable to share your folder with write permission, unless it's really needed. There is user who prefers to share the drive (C:, D:, E:, etc) on the network, but it’s not recommended. Sharing drive is dangerous, if your computer is not patched, configured and secured properly, your computer will be attacked by virus/trojan easily by sharing the drive. So, the best way is, only share the folder which you need to share. Only assign write permission to folder if really needed. To make file sharing work better in your network, it’s better to assign all computers to the same workgroup. Here is how to do it: Note: Before you start, make sure you've enabled File and Printer Sharing for Microsoft Networks on network card's properties. If not you won't be able to do file sharing.
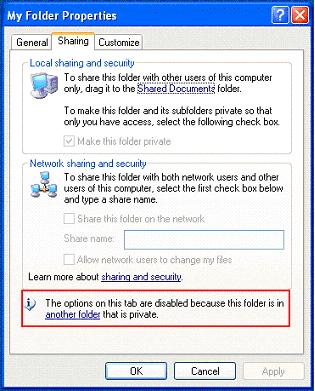
Note: If you are logged on as a guest (a guest account provides access to the computer for any user who does not have a user account on the computer), you cannot create a shared folder. Note: The Sharing option is not available for the Documents and Settings, Program Files, and WINDOWS system folders. In addition, you cannot share folders in other user’s profile. Note: When you share a folder, you also share all of its subfolders unless you make them private.
Note: Don’t tick Allow network users to change my files (give write permission to other users) unless it’s needed.
How to Find Other Computer's Shared Folder and File in Windows XP
|

Would you prefer to share this page with others by linking to it?