|
Easy File Transfer by Using Live MessengerLet’s explore on how to do file transfer by using Live Messenger in this article if you have not tried it before. You will then able to chat with your friends and send the photos, documents and other files at the same time. This is one of the good features I like about Live Messenger.
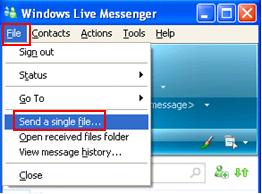
Here is simple explanation on how to do it: 1) After you have logged on to the Live Messenger, go to File and click on Send a single file…
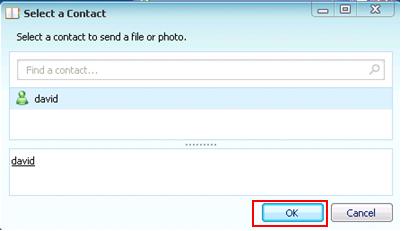
2) Select your friend ID and click OK.
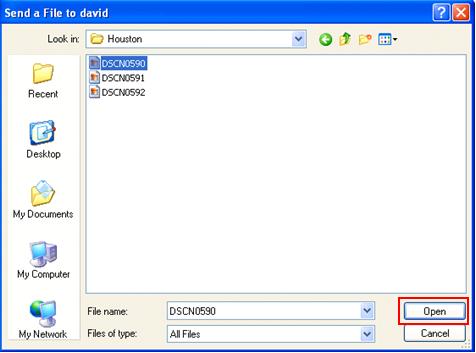
3) Proceed to select the photo, document or other file that you wish to send and click Open, after that you have to wait for your friend to accept the file. Note: Please note that you can only send one file at one time. If you want to send multiple files, advise you to zip the files to single zip file and then send it.
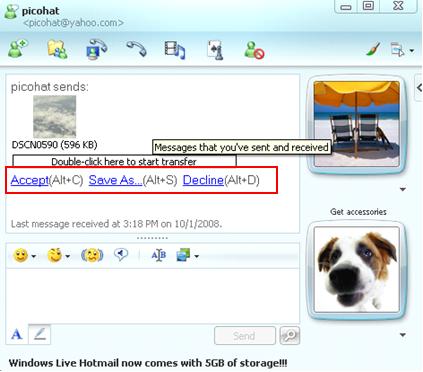
4) Ok! Here is the window your friend will receive, he/she can just click Accept to accept the file to be saved to default location. If not, he/she can click on Save As… to save the file to specific location. Of course he/she can click on Decline if does not want to receive the file.
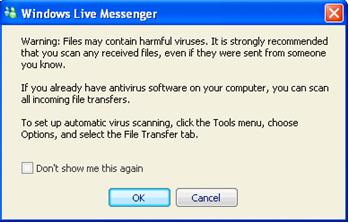
Note: If your friend has accepted the file transfer, the following window will pop up to advise your friend to virus scan the file after the transfer to avoid virus infection on computer. Just click OK.
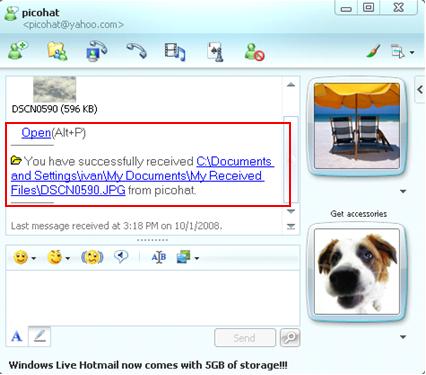
5) After completing the file transfer, your friend can view the file by clicking on the received file link.
Other Articles: Quick Tip to use Remote Assistance via Live Messenger to Get Help
Return to top of "Easy File Transfer by Using Live Messenger"!! |