|
Changing Remote Desktop Port in Microsoft WindowsThis article will show you how to change Remote Desktop port from default TCP 3386 to any port number you want as according to your requirement. This might be needed if the default port is already used by other application on your network.
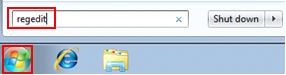
1) Let me use Windows 7 as example here: Go to Start and run registry editor program (regedit).
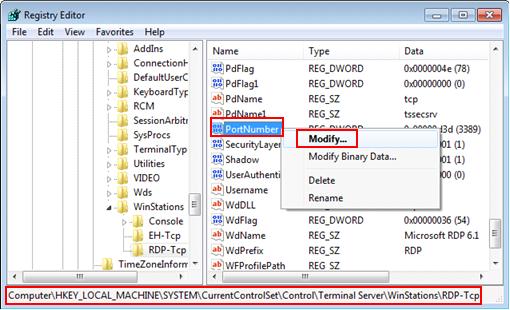
2) Registry editor window will appear, browse and locate following registry subkey – PortNumber. Right click to modify it.
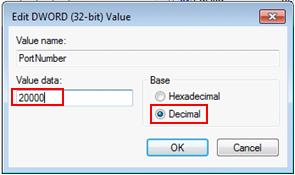
3) Change to decimal mode, after that key in new port number. As an example, I change it to port 20000. Click OK and close registry program finally. Note: Please note that if you have enabled firewall on this Remote Desktop enabled computer, you need to configure firewall to permit Remote Desktop traffic on new port. If not, other users will face problem to connect to this computer.
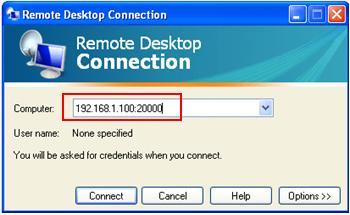
4) Restart you computer or Remote Desktop program for the change to take effect. From now on other user can only connect to this Remote Desktop enabled computer by using client program in this format: IP-address:port-number (example: 192.168.1.100:20000)
Related Articles: Windows 7 Remote Desktop Activation
Return to top of "Changing Remote Desktop Port in Microsoft Windows"!! |