|
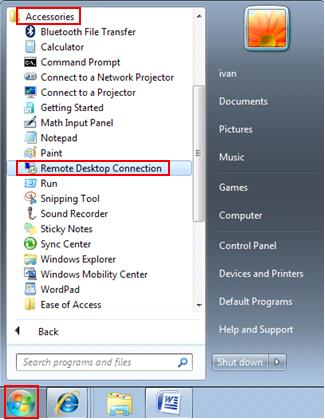
How to Connect to Remote Computer in Windows 7It’s easy to connect to remote computer with Remote Desktop enabled in Windows 7 on home network, the access method is quite similar if you compare to other Windows OS. This access method is useful for you to access all of your programs, files, and network resources of remote computer from a computer only. This is step-by-step instruction to do it: 1) First go to Start, click All Programs and then Accessories, finally click on Remote Desktop Connection. This will launch the Remote Desktop client.
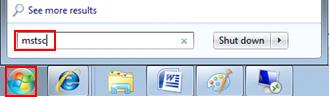
Note: The other method to launch this client is to type mstsc in Run box or command prompt:
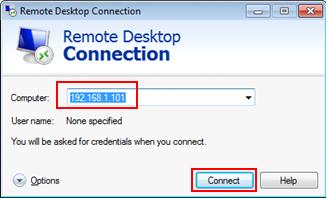
2) The Remote Desktop Connection client will appear, here you just type the IP or domain name of remote computer and then click Connect. Note: You can also click Options to play with more connecting options.
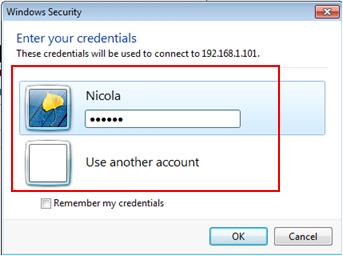
3) Another window will pop up, here you need to type in the remote computer’s username and password. Finally click OK button and that’s it!
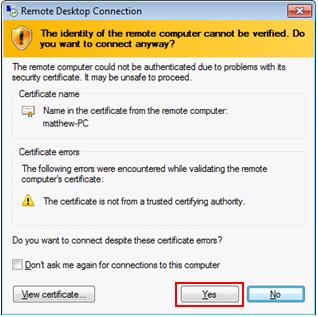
Note: If you see the following certificate verification notice when you try to connect to other computer with Network Level Authentication, it is safe to click Yes if that remote computer is trusted computer.
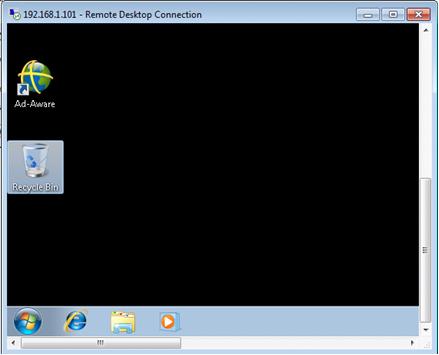
Note: This is an example of remote computer window after successfully connecting to it.
Related Articles: Windows 7 Remote Desktop Activation
Return to top of "How to Connect to Remote Computer in Windows 7"!! |