|
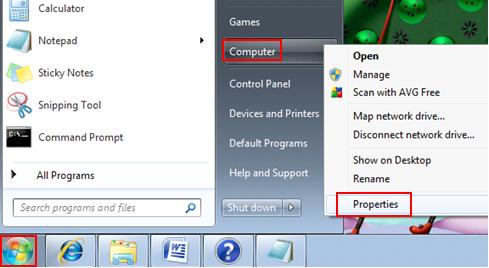
Assigning Computer Name and Workgroup in Windows 7Assigning computer name and workgroup in Windows 7 is highly recommended, because it allows other computers to access your computer to access shared file or printer easily by using computer name. Please note you need to assign unique computer name on each computer, but can group all home computers under same workgroup for easy access. Default workgroup in Windows 7 is WORKGROUP, same as default workgroup in Windows Vista and Windows XP. This is the way to do it:: 1) Go to Start, right click Computer and click on Properties.
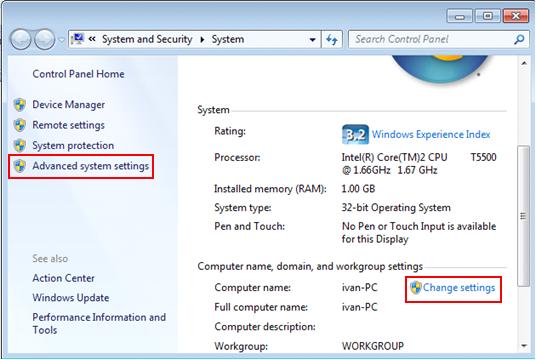
2) System Properties window will appear, and you can see the configured computer name and also workgroup. Just click Change settings to change those settings. Note: You can also click Advanced system settings to make similar change.
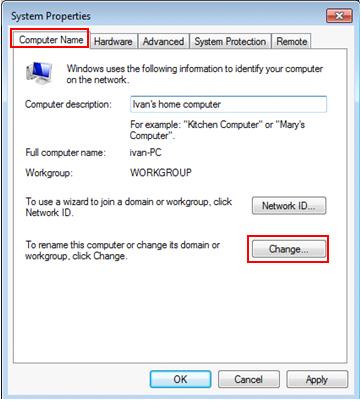
3) System Properties window will appear. Select Computer Name tab and then click Change… Note: Feel free to key in your computer description too in Computer description box. Note: You can also use wizard to join a domain or workgroup by clicking Network ID...
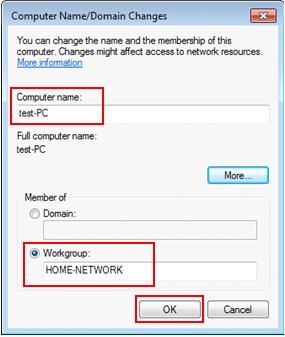
4) Proceed to key in new computer name and workgroup name in Computer Name/Domain Changes window. Finally click OK button to close all windows and restart your computer. Wow! You’ve done it! Note: Make sure computer name is unique in your network, not more then 15 characters and avoid from using this characters for naming your computer: ` ~ @ # $ % ^ & ( ) = + [ ] { } | ; : , ‘ “ . < > / ?
Recommended Articles: Setting Up Wireless Broadband Connection
Return to top of "Assigning Computer Name and Workgroup in Windows 7"!! |